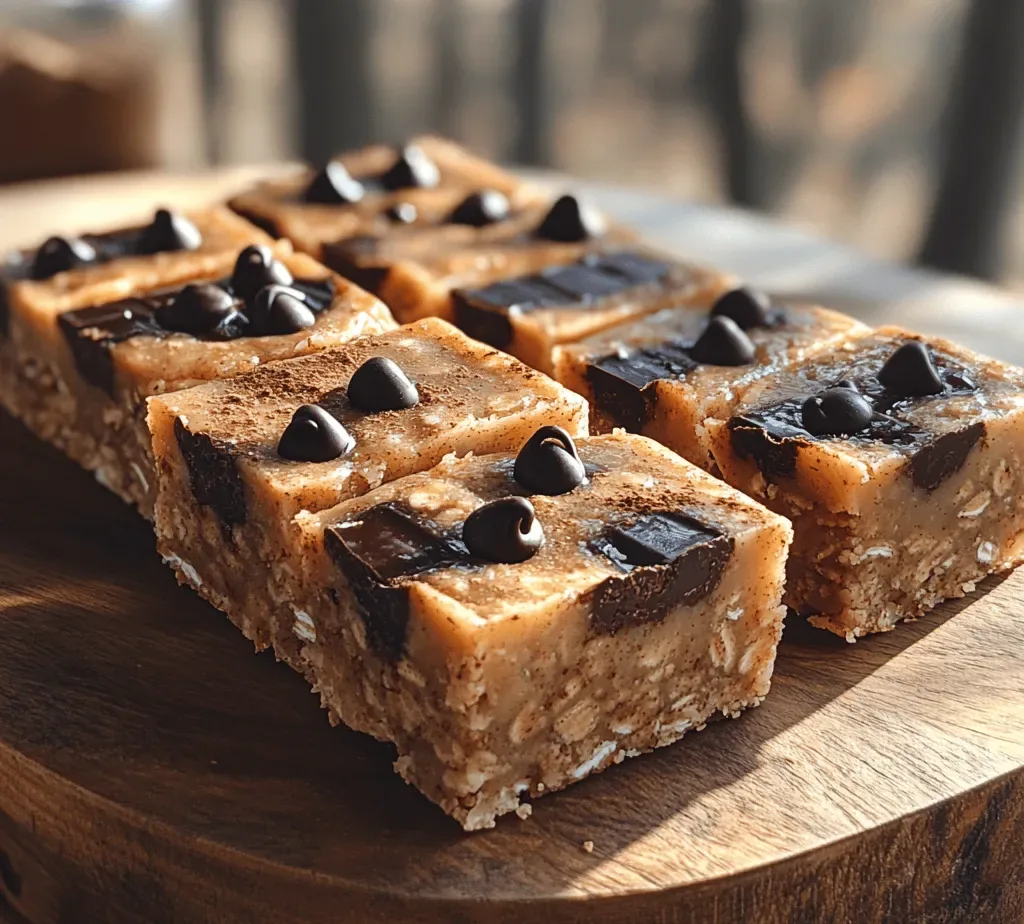
Imagine a warm, fudgy chocolate cake that appears in a mug within minutes, yet leaves no guilty aftertaste. This Decadent Guilt‑Free Chocolate Mug Cake delivers that indulgent moment without the excess sugar or refined flour.
What makes it truly special is the clever blend of almond flour, unsweetened cocoa, and a dash of maple syrup, creating a moist crumb that feels luxurious while staying light enough for a breakfast treat.
Busy professionals, sleepy parents, and brunch enthusiasts will adore this single‑serve delight, especially when they need a quick pick‑me‑up that still feels like dessert.
The process is straightforward: whisk dry and wet ingredients together, stir in a few chocolate chips, microwave, and finish with a drizzle of nut butter or fresh berries. In under three minutes you have a restaurant‑quality mug cake.
Why You'll Love This Recipe
Guilt‑Free Indulgence: The recipe swaps out white sugar and all‑purpose flour for maple syrup and almond flour, delivering rich chocolate flavor with fewer empty calories and more wholesome nutrients.
Lightning‑Fast Prep: With just a whisk, a mug, and a microwave, you can go from pantry to plate in under three minutes—perfect for rushed mornings or spontaneous brunch cravings.
Customizable Toppings: A sprinkle of chocolate chips, a dollop of almond butter, or fresh berries can be added at the end, letting you tailor each mug to your mood or dietary needs.
Portion‑Controlled Perfection: Because it’s a single‑serve mug, you enjoy a satisfying dessert without over‑eating, making it ideal for weight‑watchers and calorie‑conscious eaters.
Ingredients
This mug cake relies on a handful of pantry staples that work together to create a tender crumb and deep cocoa flavor. Almond flour provides healthy fats and a subtle nuttiness, while the cocoa powder supplies the chocolate intensity. A touch of maple syrup adds natural sweetness, and the applesauce keeps the cake moist without extra oil. Finally, a pinch of salt and a splash of vanilla bring balance and depth.
Dry Ingredients
- 3 tablespoons almond flour
- 2 tablespoons unsweetened cocoa powder
- 1/4 teaspoon baking powder
- Pinch of sea salt
Wet Ingredients
- 2 tablespoons unsweetened applesauce
- 1 tablespoon pure maple syrup
- 1 teaspoon vanilla extract
Add‑Ins & Toppings
- 2 tablespoons dark chocolate chips (70% cacao)
- Optional: fresh berries, sliced almonds, or a drizzle of almond butter
The almond flour creates a tender, slightly crumbly texture that mimics a traditional cake base, while the cocoa adds richness without the need for processed chocolate. Applesauce acts as a natural binder and moisture keeper, eliminating the need for extra butter or oil. Maple syrup offers a low‑glycemic sweetener, and the dark chocolate chips melt into pockets of gooey decadence. Together, these components produce a balanced, airy mug cake that satisfies both sweet cravings and nutritional goals.
Step-by-Step Instructions
Gathering & Mixing
Begin by selecting a microwave‑safe mug (12‑oz capacity works best). Add the dry ingredients—almond flour, cocoa powder, baking powder, and sea salt—directly into the mug. Whisk them together with a small fork until no lumps remain; this ensures an even rise and prevents gritty pockets. Next, pour in the wet ingredients—applesauce, maple syrup, and vanilla extract. Stir vigorously until the batter is smooth, glossy, and the dry and wet components are fully incorporated. Finally, fold in the dark chocolate chips, reserving a few for topping.
Microwaving the Mug Cake
- Set the Power. Place the mug in the microwave and set it to high (approximately 1000 W). Microwave for 60 seconds initially; the batter should rise, look set around the edges, and still be slightly soft in the center. This timing creates a fluffy interior while keeping the top moist.
- Check for Doneness. Insert a toothpick into the center; if it comes out with just a few crumbs, the cake is ready. If the toothpick is wet, continue microwaving in 10‑second bursts, checking each time. Over‑cooking can make the cake rubbery, so watch closely.
- Let It Rest. Remove the mug from the microwave (it will be hot—use a kitchen towel). Allow the cake to sit for 30 seconds; this lets residual heat finish the cooking process and stabilizes the crumb, preventing it from collapsing.
- Add Final Toppings. Sprinkle the reserved chocolate chips on top while the cake is still warm; they will melt slightly, creating a glossy finish. If desired, add a handful of fresh berries, a drizzle of almond butter, or a dusting of powdered erythritol for extra sweetness.
- Serve Immediately. Enjoy the mug cake straight from the mug while it’s warm and airy. Pair with a splash of cold almond milk or a dollop of Greek yogurt for a balanced breakfast that feels like dessert.
Finishing Touches
Before digging in, give the cake a quick visual check: the top should be slightly cracked, indicating a perfect rise, and the edges should be firm. A gentle tap on the mug should produce a soft, springy sound. If you love extra richness, stir in a teaspoon of almond butter into the warm batter for a swirl of nutty flavor that melds beautifully with the chocolate.

Tips & Tricks
Perfecting the Recipe
Measure Flour Accurately. Spoon almond flour into the measuring spoon and level it off. Too much flour makes the cake dense; too little results in a wet batter.
Use a Wide‑Mouth Mug. A mug with a larger opening allows the batter to rise evenly and prevents overflow during microwaving.
Don’t Over‑Mix. Stir just until combined; over‑mixing can incorporate too much air, causing the cake to collapse after cooking.
Flavor Enhancements
For an extra layer of flavor, add a pinch of espresso powder—it intensifies chocolate without tasting coffee. A splash of orange zest brightens the profile, while a handful of toasted coconut flakes adds texture and a tropical twist.
Common Mistakes to Avoid
Skipping the resting time can cause the cake to sink as it cools, losing its airy lift. Also, using a low‑power microwave will result in an undercooked center; always adjust time based on your appliance’s wattage and watch closely.
Pro Tips
Pre‑Warm the Mug. Warm the mug with hot water for 10 seconds, then dry it. A warm vessel helps the batter rise more evenly.
Layer Chocolate Chips. Sprinkle half the chips into the batter and the rest on top before microwaving; this creates a molten core and a crunchy top.
Adjust Sweetness. If you prefer less sweetness, reduce maple syrup to 2 teaspoons and add a pinch more cocoa for a richer, less sweet bite.
Variations
Ingredient Swaps
Swap almond flour for coconut flour (use half the amount) for a dairy‑free, grain‑free version. Replace dark chocolate chips with chopped walnuts or pumpkin seeds for added crunch. If you’re avoiding maple syrup, use agave nectar or a few drops of liquid stevia.
Dietary Adjustments
For a vegan mug cake, substitute applesauce with mashed ripe banana and ensure the chocolate chips are dairy‑free. To make it keto, increase the almond flour to 4 tablespoons, use erythritol instead of maple syrup, and keep the cocoa powder unsweetened.
Serving Suggestions
Pair the mug cake with a dollop of Greek yogurt or coconut‑cream whipped topping for extra protein. A side of fresh fruit salad balances the richness, while a drizzle of sugar‑free caramel adds a gourmet touch for special occasions.
Storage Info
Leftover Storage
Allow any leftover cake to cool completely, then transfer it to an airtight container. Store in the refrigerator for up to 2 days. For longer keeping, wrap the mug tightly in plastic wrap and freeze for up to 1 month; thaw in the fridge before reheating.
Reheating Instructions
Reheat a refrigerated portion in the microwave on medium power for 30‑45 seconds, checking halfway. If the cake seems dry, add a splash of almond milk before reheating. For frozen cake, microwave on defrost for 1 minute, then finish on high for another 30‑seconds.
Frequently Asked Questions
This Decadent Guilt‑Free Chocolate Mug Cake proves that quick comfort food can also be nutritious. By using almond flour, natural sweeteners, and a handful of wholesome add‑ins, you get a rich, satisfying treat without the usual calorie overload. The step‑by‑step guide, storage tips, and creative variations ensure you can enjoy it any day of the week. Feel free to experiment with toppings and flavor twists—making it truly your own. Grab a mug, hit the microwave, and savor a breakfast‑brunch that feels like dessert!